What if managing your assets felt less like high-stakes brain surgery and more like, well, just managing an account?
What if there was a smoother entry point? What if you could explore this new technology using a tool that felt a bit more familiar, perhaps even integrated into a platform you already know and trust?
That’s where the Binance Web3 Wallet steps onto the scene. It is built right into the Binance app you might already be using for your regular crypto activities. It’s designed to bridge the gap, offering you the power and self-control of your assets.
In this post, we’re going to sit down together, and unpack exactly what the Binance Web3 Wallet is. We’ll explore how it works, how you can set it up in minutes, and how to make use of its interface.
What is A Web3 Wallet
Alright, before we dive deeper into Binance specifics on its web3 wallet, let’s take a step back and make sure we’re on the same page about this whole “Web3 wallet” thing.
A Web3 wallet is a digital tool used to access and interact with the decentralized internet (Web3). Unlike traditional crypto wallets, they are designed to support a wider range of functions, including connecting to decentralized applications (dApps), managing crypto assets, and interacting with smart contracts.
Now, here’s a crucial fork in the road: how that wallet is managed. This leads us to the difference between Custodial and Self-Custody (or Non-Custodial) wallets.
Custodial Wallets: These are like a traditional bank account or the wallet within a typical crypto exchange (like your main Binance spot wallet). The bank or exchange holds your money (or crypto) for you so they manage the security, the keys, everything. It’s convenient, and if you forget your password, they can usually help you recover your account. However, the ultimate control isn’t yours, the custodian could freeze your funds, get hacked, or face regulations that impact your access.

Self-Custody Wallets: This is like having your own high-security safe at home. You hold the keys, you have complete control over what’s inside. No one can access your assets without your permission (or your keys). This is the core principle of Web3. The Binance Web3 Wallet we’re discussing falls into this category. It gives you that direct control.
In the traditional setting, this responsibility often revolved around something called a Private Key and its backup, the Seed Phrase.
Private Key: This as the actual, physical key to your keep your web3 wallet safe. It’s a long string of code that grants access to your crypto assets on the blockchain. It’s meant to be kept absolutely secret.
Seed Phrase (or Recovery Phrase): Because private keys are complex and impossible to memorize, most traditional self-custody wallets provide a seed phrase which are typically 12 or 24 random words. Guarding this seed phrase becomes paramount. If you lose it, your funds could be gone forever. If someone else gets it, they can drain your wallet.
This seed phrase responsibility has been a major hurdle for many people wanting to explore Web3. It feels risky and complicated. And that’s precisely the problem Binance web3 wallet solves, offering the control of self-custody without the traditional anxiety of managing a seed phrase.
How? We’ll get to that in the next section.
How Binance Web3 Wallet Works

Okay, so we’ve established the Binance Web3 Wallet is a self-custody wallet, meaning you hold the reins. But we also mentioned it cleverly sidesteps the need for that traditional, often anxiety-inducing, seed phrase. How does it do this?
The underlying technology is called Multi-Party Computation (MPC).
Now, don’t let the fancy name intimidate you. This is a separate topic that is more complex than the main subject at hand but let’s break it down with an analogy.
Imagine, instead of having one single, highly sensitive key (like a traditional private key or the seed phrase that backs it up), your access to your secure vault is controlled by three unique key shares.
Think of them like three distinct pieces of a treasure map or three different locks on a chest requiring two different keys to open.
When you create your Binance Web3 Wallet, this MPC technology automatically generates these three key shares.
Here’s where they live:
Key Share 1: Secured by Binance. Binance holds onto one piece of the puzzle. This piece alone is useless for accessing your Binance web3 wallet.
Key Share 2: Stored on Your Device. This piece lives securely within the Binance app on your phone or tablet.
Key Share 3: Encrypted & Backed Up by You. This crucial third piece is encrypted with a recovery password that only you know. You set this password during the wallet setup. This encrypted share is then stored in your personal cloud storage (like iCloud or Google Drive). Again, this encrypted piece is useless on its own, and doubly so without your personal recovery password.
Here’s the clever part: To actually access your Binance web3 wallet and approve transactions (like sending crypto or interacting with a dApp), you need two out of these three key shares to come together.
This MPC approach offers several advantages:
No Seed Phrase Anxiety: You don’t have that single, catastrophic point of failure represented by a 12 or 24-word phrase you need to hide physically.
Enhanced Security: Distributing the key components makes it much harder for hackers to gain unauthorized access.
User-Friendliness: The recovery process, relying on a password and cloud backup, feels more familiar to most users than managing seed phrases.
It’s self-custody, made significantly more practical and less intimidating for everyday users.
How To Get Started with Binance Web3 Wallet
To get started with the Binance web3 wallet, follow these easy steps:
Step 1: Open Your Binance App & Find the Wallet Section
First things first, log in to your existing Binance account within the app. If you don’t have one, you’ll need to sign up for Binance first but chances are, if you’re reading this, you might already be a user.
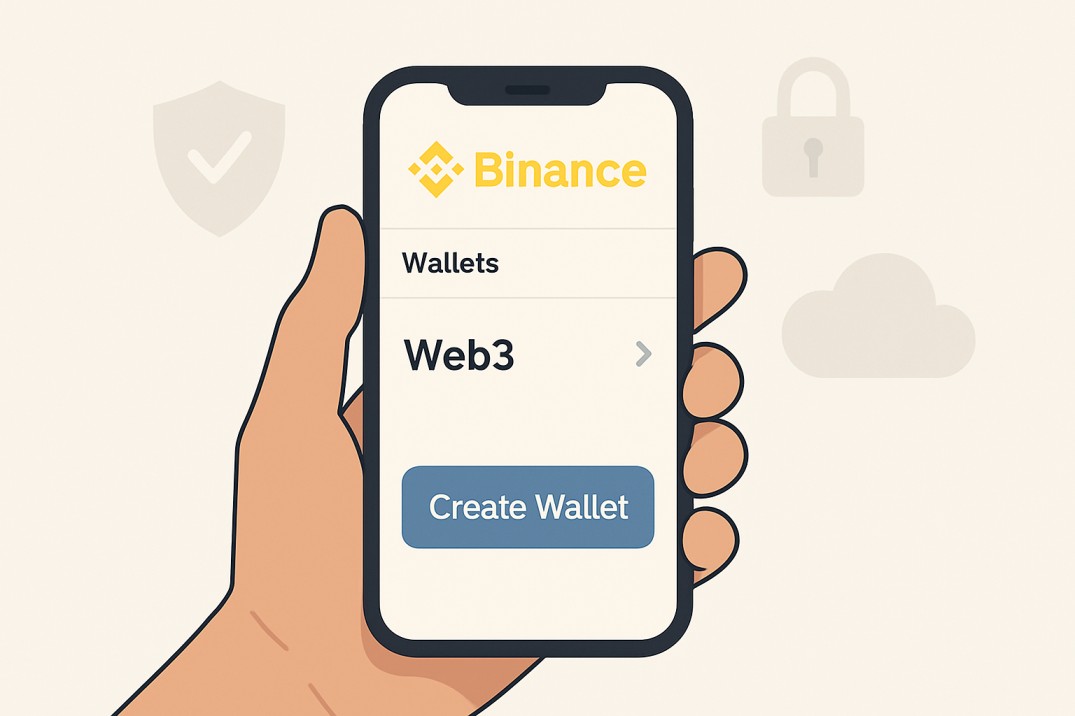
Once you’re logged in, look towards the bottom right of your screen. You should see a tab labelled “Wallets”. Tap on that.
Step 2: Switch to the Web3 View

At the top of the Wallets screen, you’ll likely see different tabs like “Overview”, “Spot”, “Funding”, etc. Look for one labelled “Web3″.
If this is your first time here, the app will likely greet you with an introductory screen about the Web3 Wallet.
Step 3: Create Your Wallet
You should see a prominent button that says “Create Wallet“. (If you happen to have an existing MPC wallet you want to import using a cloud backup or QR code, you might see an “Import Wallet” option too, but for most, it’s time to create). Tap “Create Wallet”.
Step 4: The Crucial Backup
This is arguably the most important step after creation. Your binance web3 wallet is technically created, but it’s not securely backed up yet. The app will prompt you to back up your wallet immediately. Do not skip this.
You’ll be asked to set a Recovery Password. Choose something strong and unique you can remember but that others wouldn’t easily guess. This password is what encrypts that third key share stored in your cloud backup. Write this password down and store it somewhere incredibly safe, separate from your device.
The app will then guide you to back up the encrypted third key share to your linked cloud service (iCloud for iOS users, Google Drive for Android users). Ensure your phone is connected to the internet and allow the backup process to complete. You might need to authenticate with your cloud service.
Step 5: All Set! Explore Your New Wallet
Once the backup is confirmed, congratulations! Your Binance Web3 Wallet is set up and ready to go. You’ll be taken to the main wallet interface.
Take a moment to look around. You’ll typically see sections for your assets (where your crypto and NFTs will appear once you have them), options to Send, Receive, and Swap tokens, and likely a browser or section for exploring dApps.
And that’s it. In just a few minutes, without writing down a single seed phrase, you’ve created a secure, self-custody Web3 wallet.
To download the Binance web3 wallet, visit the official sites on Google Play and the Apple App Store respectively.


